
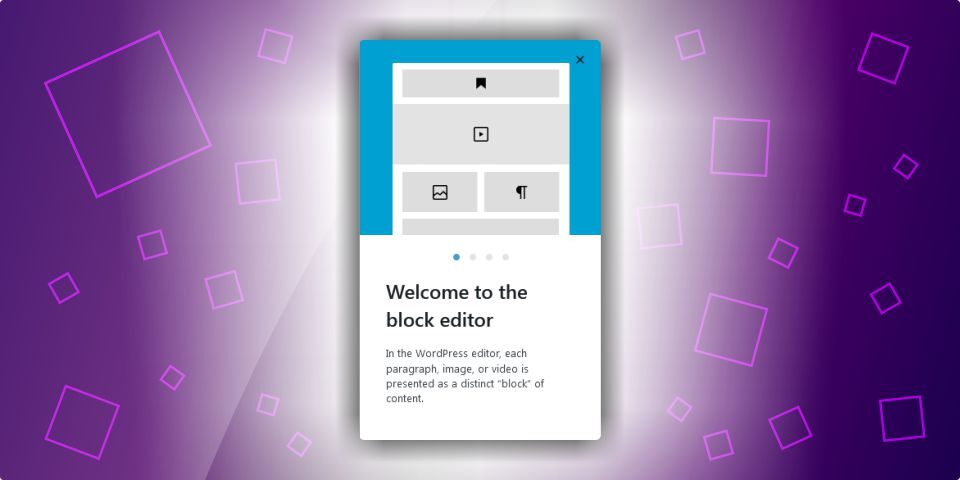
The block editor is where you create your posts and pages in WordPress. It is designed to be intuitive, with a number of blocks and tools that you’ll use when writing a blog post. In this article we’ll show you around the the editor and how to use these tools.
About the WordPress Block Editor
The block editor is the result of an ongoing project by the WordPress developers called “Gutenberg”. Gutenberg replaced the old TinyMCE editor as the default editor with the release of WordPress 5.0 in 2019. It is now simply referred to as the WordPress editor or block editor.
The block editor makes it easier to add different types of content to your posts or pages.
What is a Block?
A block is a content element you’ll use to add or edit a WordPress page or post. Some of the default blocks include:-
- Paragraphs
- Headings
- Lists
- Images
- Embeds, for inserting third-party content
- Tables
Getting Started with the Block Editor
To get started with your post, log in to your admin area and click on Posts > Add New.

First View of the Block Editor
Clicking the Add New button will open the block editor for you to start writing your post. Let’s take a look at the basic tools:-

- This is where you add new blocks to your post
- Undo and redo buttons
- The list view. Here you can see all the blocks in your post and navigate between them
- Here you can preview, publish and update your post
- Gives you access to the post settings. This is where you can set the categories, tags, featured image etc.
- Gives you access to the block settings for the selected block
Start Writing Your Post
Add a Title
To add a title to your post, enter your text where it says Add title.

Add Content to Your Post
You can start writing by typing in the space below the title. This will automatically create a paragraph block.
Add Blocks to Your Post
To add other block elements to your post, click on the plus sign (+) to the right of the text you’re typing. You can also add blocks with the plus sign (+) in the top left corner of the editor.

If you click the plus button in the content area, a pop-up with six recently used blocks becomes available. For additional block types you can use the search bar or click Browse all at the bottom of the pop-up.

Working with Blocks
The WordPress block editor provides various tools for formatting blocks depending on the block type you’re editing. The toolbar becomes available above a block when you click on it. The paragraph block for example, has options for bold, italic, text alignment and inserting hyperlinks.

There are additional block settings that you can access in the sidebar on the right hand side of your screen.

Adding an Image in the Block Editor
To add an image to your post you’ll need to insert an image block. You’ll then be able to upload an image or use one in your media library.

Additional settings for the image block allow you to set the style, add alt text and size the image.

How to Use Headings Effectively in Your Blog Posts
Headings play an important role in making your blog posts easier to read and understand. They help guide your readers through the content while also improving your SEO by helping search engines understand the structure of your page.
Why Headings Matter
Well-structured headings break your content into clear sections, making it easier for visitors to scan your article and quickly find the information they need. Readers often skim online content before deciding to read in detail, so headings help keep them engaged.
Search engines also use headings to identify the main topics and subtopics within your post, which can improve your content’s visibility in search results.
Understanding Heading Levels
WordPress supports six heading levels, from H1 to H6, each corresponding to HTML heading tags.
- H1 – Main page or post title
- H2 – Main section headings
- H3 – Subsections under H2 headings
- H4 – H6 – Additional nested subsections when needed
In most WordPress themes, the H1 heading is automatically generated from your post title, so you generally won’t need to add it manually. Simply enter your title at the top of the editor.
When adding content sections, you’ll most commonly use H2 and H3 headings. WordPress automatically creates an H2 heading when you insert a Heading block, but you can easily change the heading level using the toolbar options.

Creating a Clear Heading Hierarchy
A logical heading structure improves both readability and accessibility. Your headings should flow in order without skipping levels.
For example:
- H1 — Blog Post Title
- H2 — Main Topic
- H3 — Supporting Point
- H4 — Additional Detail
- H3 — Supporting Point
- H2 — Main Topic
Avoid jumping from an H2 directly to an H4, as this can confuse readers and search engines alike. Each heading level should naturally follow the one above it.
Best Practices for Using Headings
- Keep headings short and descriptive
- Use keywords naturally where appropriate
- Make headings informative so readers know what to expect
- Use headings consistently throughout your content
- Avoid overusing headings for styling purposes only
A well-organised heading structure not only improves the user experience but also helps your content appear more professional and easier to navigate.
Other Block Types
Although paragraph, heading and image blocks will be used the most often when you write a post, there are over 50 other block types available.
You can access all the WordPress blocks by clicking on the the plus sign (+) in the top left corner of the editor. If you hover over any of the blocks in the list, a pop-up appears with a preview and a brief description of the block type. All you need to do is click on the icon in the list to insert it into your post.

Final Thoughts
The WordPress block editor gives you the flexibility to create well-structured, engaging posts without needing advanced technical skills. Once you understand how blocks work, adding headings, images, lists and other content elements becomes a smooth and intuitive process. By learning the basics of the editor and practising with different block types, you’ll be able to create professional-looking blog posts that are easier for both readers and search engines to navigate.
If you’re new to WordPress, consider setting up a local installation of WordPress to learn and familiarise yourself with the block editor and the different block types.
If you need help with your WordPress website or writing posts, please contact me or visit my home or services pages for more about me and what I do.

Cimeron Collins
Cimeron is an artist and designer based in Edenvale, South Africa, with over 30 years of experience in the printing and publishing industries.
He’s also an avid WordPress enthusiast who strives to stay up to date with the latest trends in web design and development, constantly exploring new technologies and refining his skills.

Leave a Reply