Preparing print-ready artwork correctly is one of the most important steps in achieving professional-quality printed material. Whether you are designing business cards, brochures, flyers, packaging, or large-format banners, proper setup helps prevent costly mistakes, delays, and disappointing print results.
In this guide, we’ll cover the essential steps for preparing print-ready artwork, including bleed setup, colour modes, image resolution, file sizing, and more.
Why Preparing Print-Ready Artwork Matters
Even the best design can produce poor results if the artwork is not prepared correctly for printing. Incorrect dimensions, low-resolution images, missing bleed, or RGB colours can all affect the final output.
By preparing your artwork properly before sending it to print, you can:
- Achieve a professional finished product
- Ensure accurate colours and sharp images
- Avoid unwanted white edges or trimming issues
- Reduce production delays
- Prevent additional artwork correction costs
Read more on How Commercial Offset Litho Printing Works.
Talk to Your Printer Before You Start
One of the best ways to avoid printing problems is to speak to your printer before designing your artwork.
Different printers may have unique specifications regarding:
- File formats
- Bleed requirements
- Colour profiles
- Resolution settings
- Packaging methods
Understanding these requirements early can save time, money, and frustration later in the process
Use Professional Design Software
Professional print-ready artwork should always be created using industry-standard design software.
Recommended programs include:
- Adobe Illustrator
- Adobe InDesign
- CorelDRAW
These applications are specifically designed for professional printing and include tools for bleed, colour management, packaging, and exporting press-ready PDFs.
Software like Microsoft Word, Excel, or PowerPoint is not intended for professional print production and often requires extensive corrections before printing.
Set the Correct Artwork Size
Always design your artwork at the exact final print size.
Incorrect dimensions can lead to:
- Improper scaling
- Cropping issues
- Additional paper usage
- Increased printing costs
Printers often calculate pricing based on paper usage and layout efficiency, so correct sizing is essential for both quality and cost control.
Add Bleed to Your Artwork
Bleed is the extra area that extends beyond the finished trim size of your artwork. It ensures that colours and images reach the edge of the page after trimming.
Without bleed, slight movement during the cutting process can leave unwanted white borders.

Standard Bleed Requirements
Most commercial printers recommend:
- 3mm bleed on all sides
- A 3mm safety margin inside the trim edge for text and important elements
This helps prevent important content from being cut off during production.
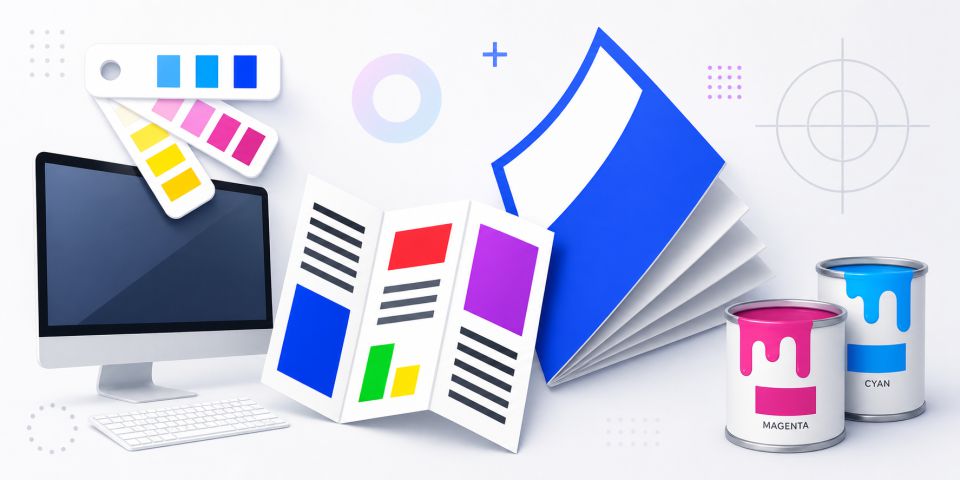
Use the Correct Colour Mode for Printing
Understanding colour modes is essential when preparing print-ready artwork.
CMYK for Full-Colour Printing
Commercial printing uses the CMYK colour model:
- Cyan
- Magenta
- Yellow
- Black (Key)
Computer screens display colours using RGB light, which can appear more vibrant than printed colours. Because of this difference, artwork designed in RGB may print differently than expected.

Always convert your artwork to CMYK before sending files to print to improve colour accuracy.
Spot Colour Printing and Pantone Colours
Some print jobs use spot colours instead of full-colour process printing.
Spot colours commonly use the Pantone Matching System (PMS), allowing printers to reproduce highly accurate and consistent colours.
This is especially important for:
- Corporate branding
- Logo consistency
- Packaging
- Special finishes
If precise colour matching is critical, speak to your printer about Pantone colour requirements.
Use High-Resolution Images
Image quality has a major impact on print results.
For professional printing:
- Use images at 300 DPI
- Ensure images are supplied at their actual print size
Low-resolution images may appear blurry or pixelated when printed, while excessively large images can unnecessarily increase file sizes.
For information on resolution and image sizes for on-line applications, please see my article Pixels and Dimensions of Digital Images.
Keep Your Artwork Simple and Organised
Complex artwork files can sometimes cause printing issues.
Before exporting your final print-ready artwork:
- Remove unnecessary layers
- Flatten complex effects where appropriate
- Embed or package fonts and linked images
- Clean up unused elements
Simpler files are generally more reliable during the printing process.
Export the Correct File Format
Most printers prefer receiving artwork as a high-quality PDF.
When exporting:
- Include bleed and crop marks
- Embed fonts
- Use CMYK colour mode
- Compress images appropriately
- Follow your printer’s PDF preset recommendations
PDF/X standards are often preferred for commercial printing.
Final Checklist for Print-Ready Artwork
Before sending your artwork to print, double-check the following:
- Correct final dimensions
- 3mm bleed added
- Safe margins applied
- CMYK or spot colour mode used
- Images at 300 DPI
- Fonts embedded or outlined
- File exported as print-ready PDF
- Printer specifications confirmed
Conclusion
Preparing print-ready artwork properly can make the difference between a smooth printing experience and costly production problems. By following these professional print setup guidelines, you can ensure your designs print accurately, look professional, and meet industry standards.
If you need assistance creating professional print-ready artwork, feel free to contact me for expert design and print support.
Contact me if you need help with print-ready artwork or visit my home and services pages for more information about me and what I do.

Cimeron Collins
Cimeron is an artist and designer based in Edenvale, South Africa, with over 30 years of experience in the printing and publishing industries.
He’s also an avid WordPress enthusiast who strives to stay up to date with the latest trends in web design and development, constantly exploring new technologies and refining his skills.