If you’re thinking about using WordPress or already manage a WordPress website, installing WordPress locally on your computer can be incredibly useful. A local setup gives you a safe space to learn, test ideas, and develop your website before publishing it online.
In this guide, I’ll explain what a local WordPress installation is, why it’s beneficial, and how you can install WordPress on your own computer.
What Is a Local WordPress Installation?
Although WordPress itself is free to download and use, a live website still requires web hosting and a domain name. Normally, your website files, database, images, videos, and content are stored on a hosting provider’s server so visitors can access your site online.
A local WordPress installation works differently. Instead of using an external hosting server, your own computer acts as the server using a setup commonly referred to as localhost. This allows you to install and run WordPress directly on your computer without paying for hosting or a domain name.
Because the website is hosted locally, it can only be accessed from the computer it’s installed on. Local installations are mainly used for website development, testing, and learning before a website goes live.
Why Install WordPress Locally?
Installing WordPress locally gives you the freedom to experiment without affecting a live website. It’s ideal for beginners learning the basics, developers testing code changes, and anyone wanting to build a website privately before launching it online.
Another major advantage is that you can work on your website even without an internet connection.
If You’re New to WordPress
WordPress is often praised for being beginner-friendly, but learning how websites work can still feel overwhelming at first. A local installation provides a risk-free environment where you can explore the WordPress dashboard, learn website terminology, and understand how themes, plugins, pages, and posts work together.
You can make mistakes, experiment freely, and gain confidence without worrying about breaking a live website.
For Intermediate Users
If you already use WordPress, a local setup is perfect for testing design changes, new plugins, or custom code before applying them to your live website.
Many website owners create a local copy of their live site so they can safely experiment without risking downtime or functionality issues for visitors.
It’s also a great environment for improving your coding skills. If you’re learning HTML, CSS, PHP, or JavaScript, a local WordPress installation allows you to practice safely and test your work instantly.
For Advanced Users and Developers
Professional WordPress developers frequently rely on local installations when building themes, plugins, and custom functionality. Testing locally speeds up development and helps identify issues before updates are released publicly.
If you’re interested in developing your own WordPress themes or plugins, a local environment is the ideal place to start.
How to Install WordPress on Your Own Computer
To install WordPress locally, you’ll first need software that turns your computer into a local server environment. One of the most popular options is XAMPP, which includes everything needed to run WordPress, including Apache, PHP, and MySQL.
Windows users can also choose WampServer as an alternative.
Once your local server software is installed, you can download WordPress, create a local database, and complete the installation process directly on your computer.
If you’re using WAMP, you can also follow our related guide on setting up a local server environment before installing WordPress.
Step 1 – Download and Install XAMPP
- Visit the Apache Friends website and download the version of XAMPP for your operating system. (We downloaded the Windows version).
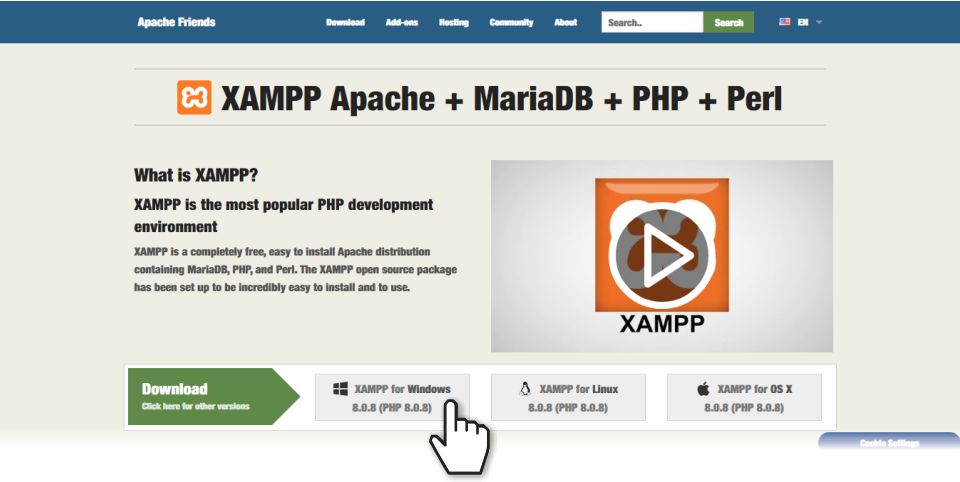
- Be patient as the file is quite large and may take a while to download.
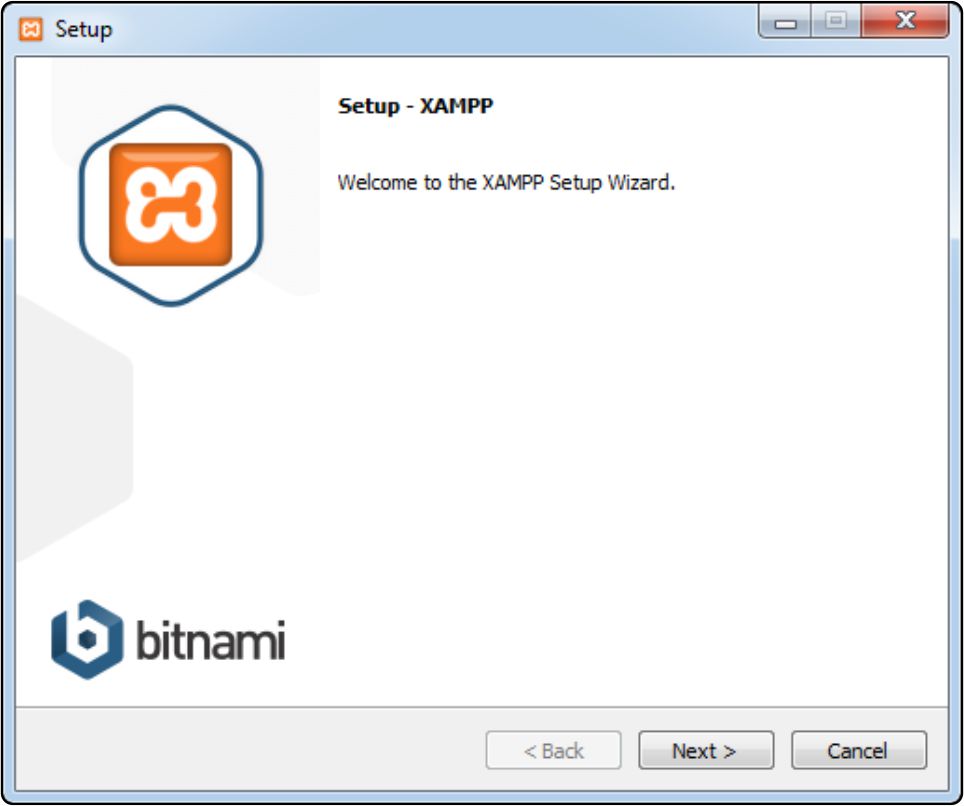
- Run the downloaded file to launch the XAMPP installer. If you’re running antivirus software, you may see a warning message. You can just click Yes here to continue. If you get a warning message on User Control, you can also just click OK.
- You should now see the XAMPP installer screen. Click Next to continue.
- The next screen asks you to select the components to install. You only need MySQL and phpMyAdmin, but you can leave the default selection and click Next to continue.
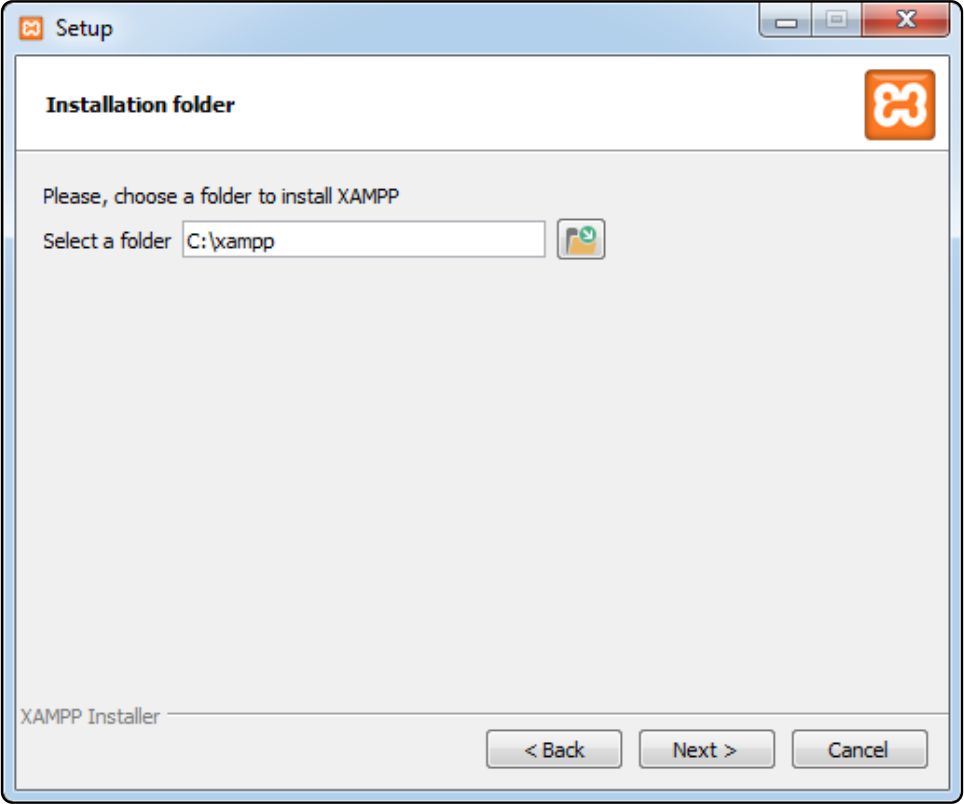
- You now need to select the folder to install XAMPP in. You can leave this as the default and click Next to continue.
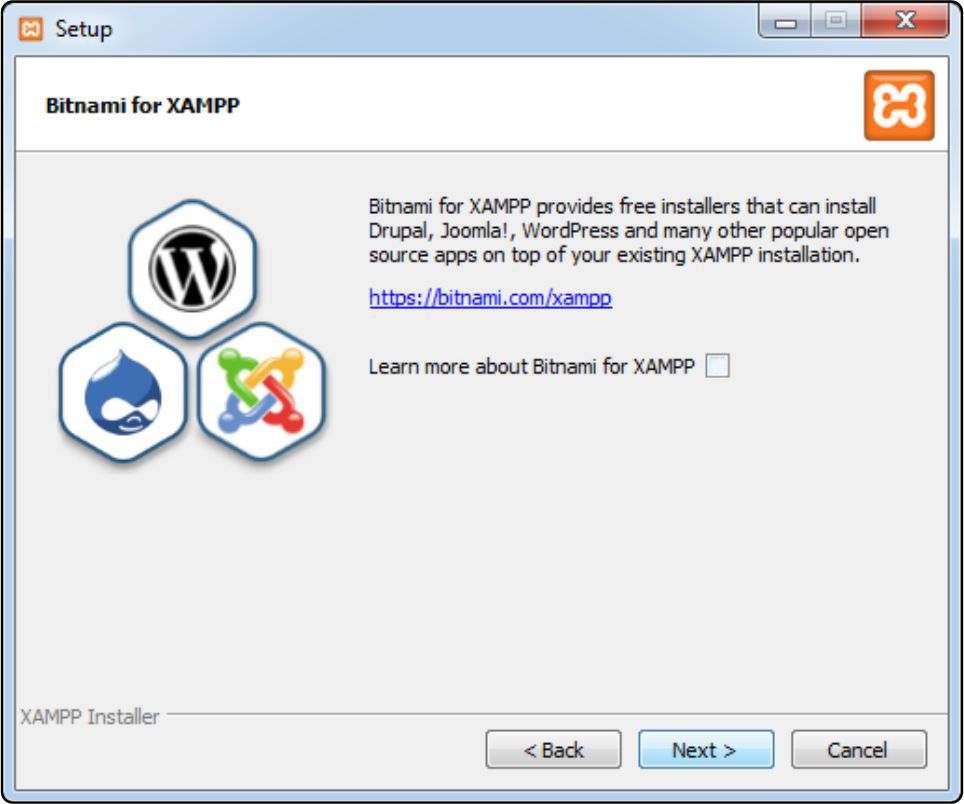
- The next screen asks whether you want to install Bitnami for XAMPP. You don’t need Bitnami to install XAMPP, so uncheck the box and click Next to start the installation.
- Now, sit back while XAMPP installs.
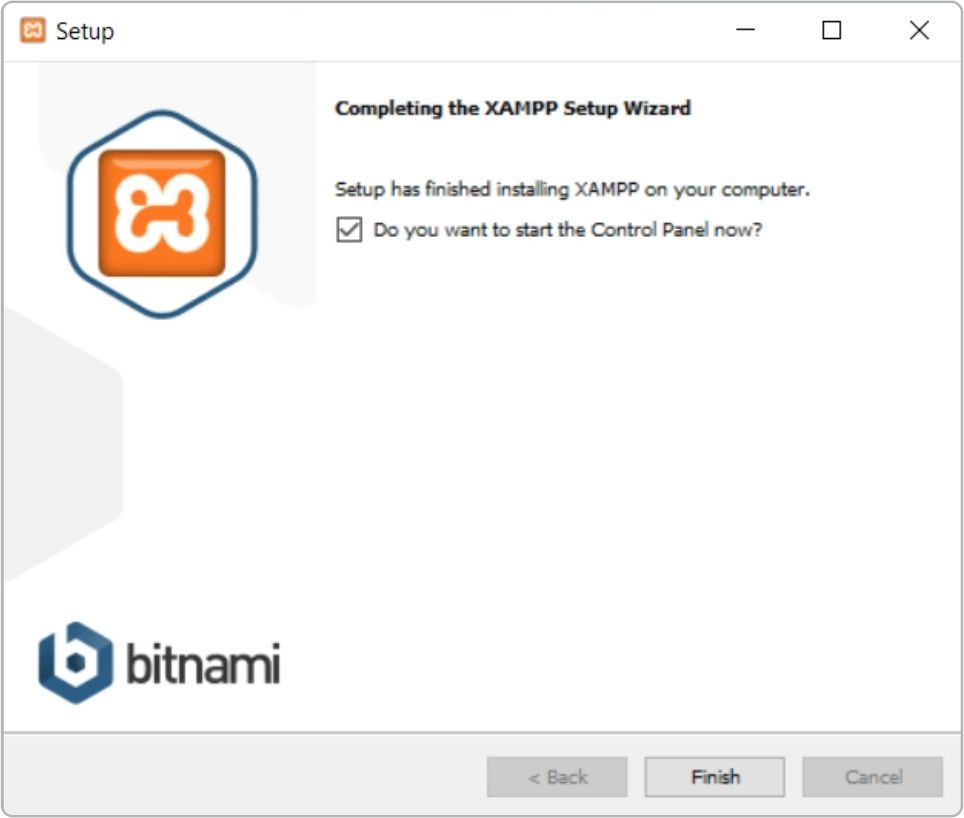
- When the installation is complete, click Finish to start the control panel.
Step 2 – Start and Test Your Local Server
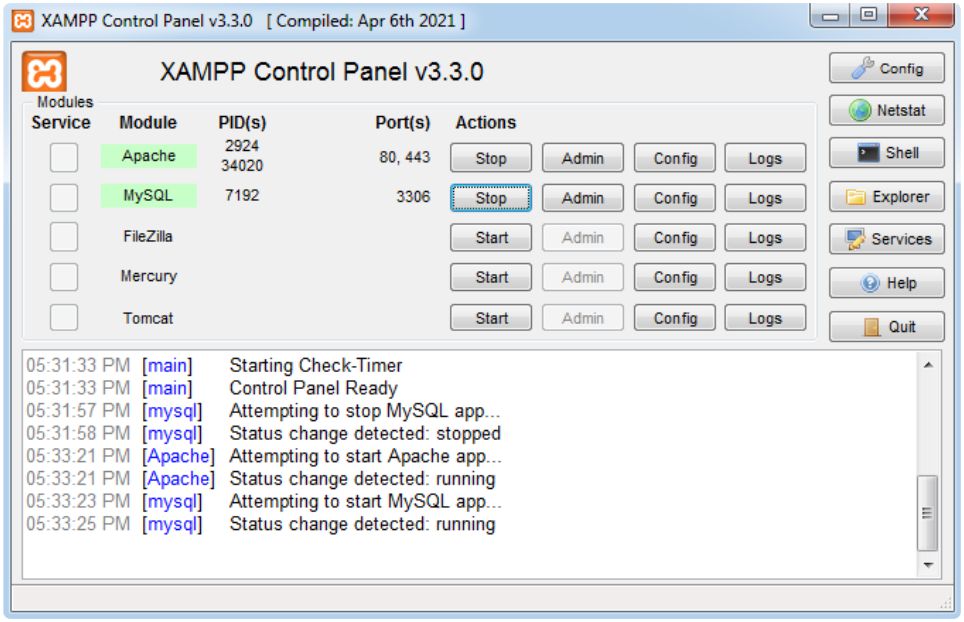
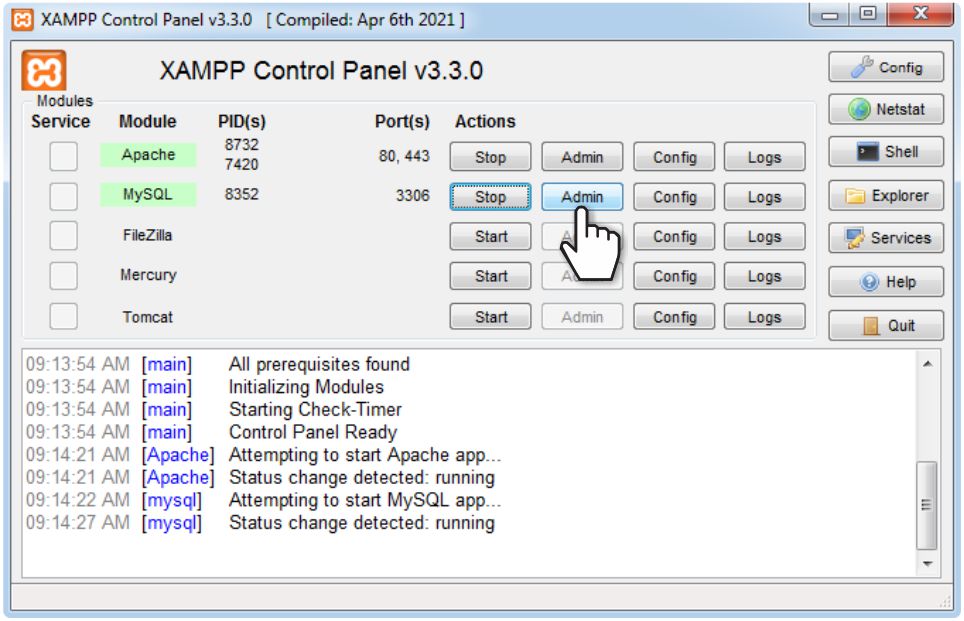
- Start the Apache and MYSQL modules in the XAMPP control panel.
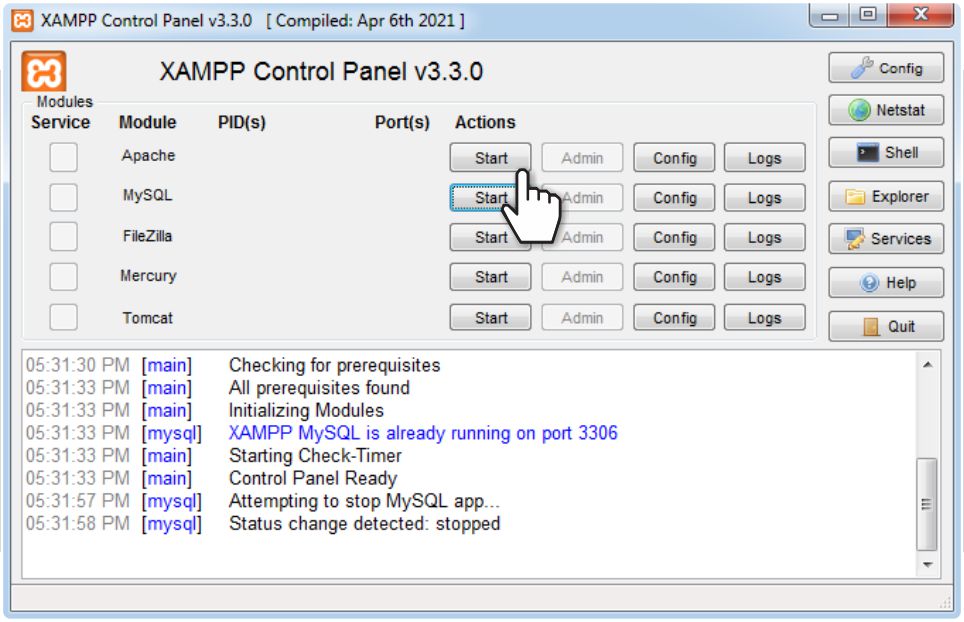
- When the modules have started, their status will turn green.
You can test that your new local server is working by going to http://localhost in your browser.
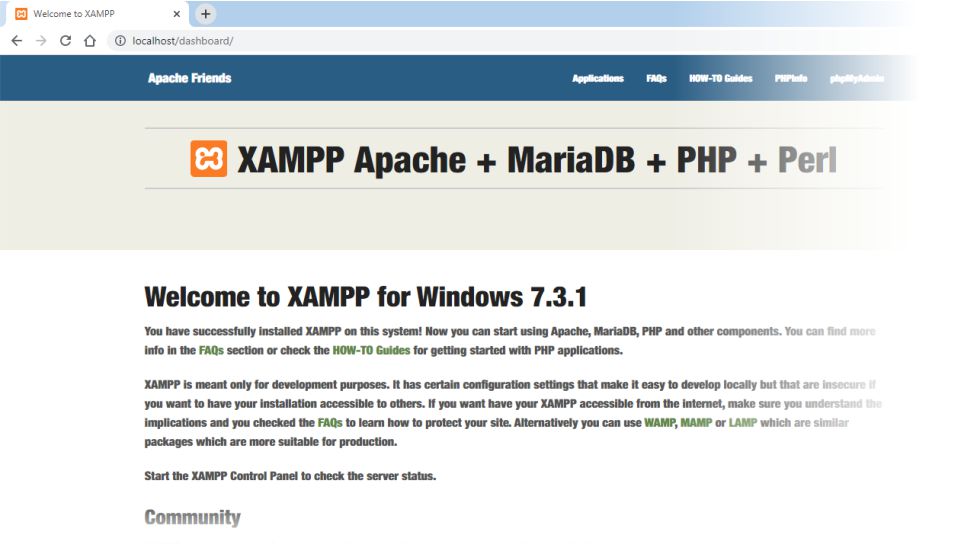
You should now have a working server on your own computer. In the next steps,we’ll create a database and install WordPress.
Step 3 – Create a Database for WordPress
- To Create a database you’ll need to open phpMyAdmin from your XAMPP control panel.
- Click on the Admin button next to MySQL.
- Click on Databases at the top of the phpMyAdmin screen.
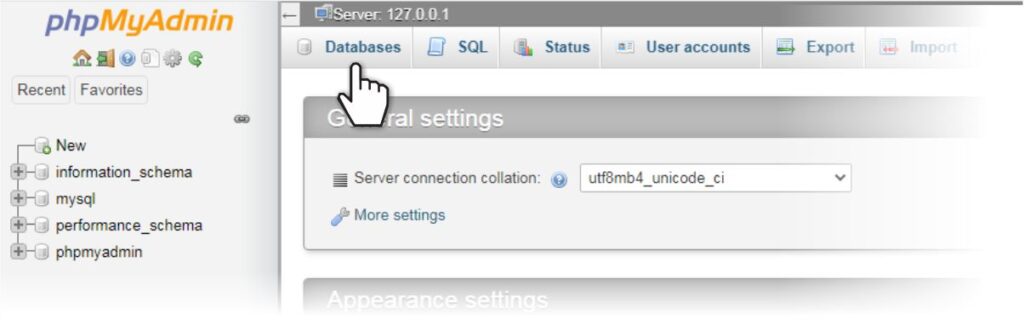
- Enter a name for your new database and make a note of the name because you’ll need it later on.

- Click the Create button and you should see your new database listed on the left hand side of the screen.
- You can close phpMyAdmin now.
Step 4 – Create a Folder for Your Local WordPress Installation
- Before you download WordPress, you need to make a folder for the new Installation.
- In your file manger, navigate to the folder where XAMPP is installed. If you followed the steps above, it will be
c://xampp.
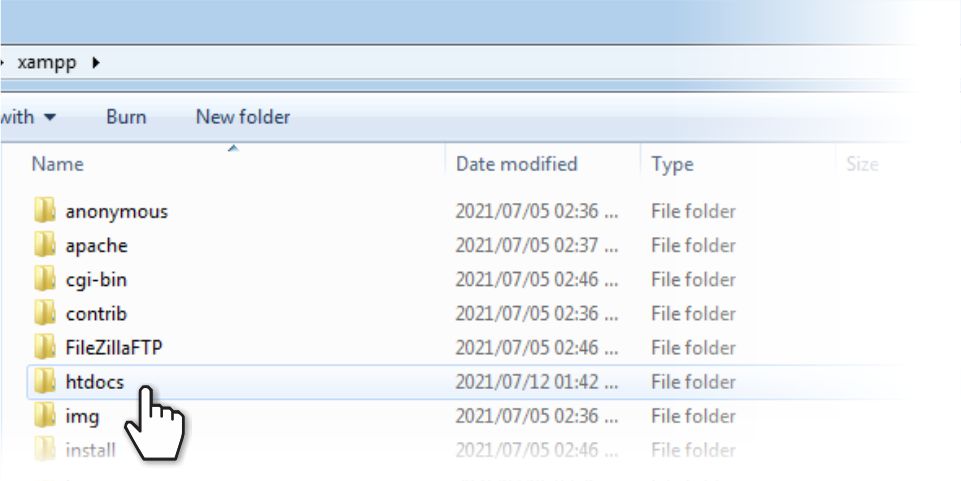
- Find and open the htdocs folder.
- Create a folder inside htdocs for your new local WordPress installation. Use this folder name to access your site. In our example, we named the folder mywebsite.

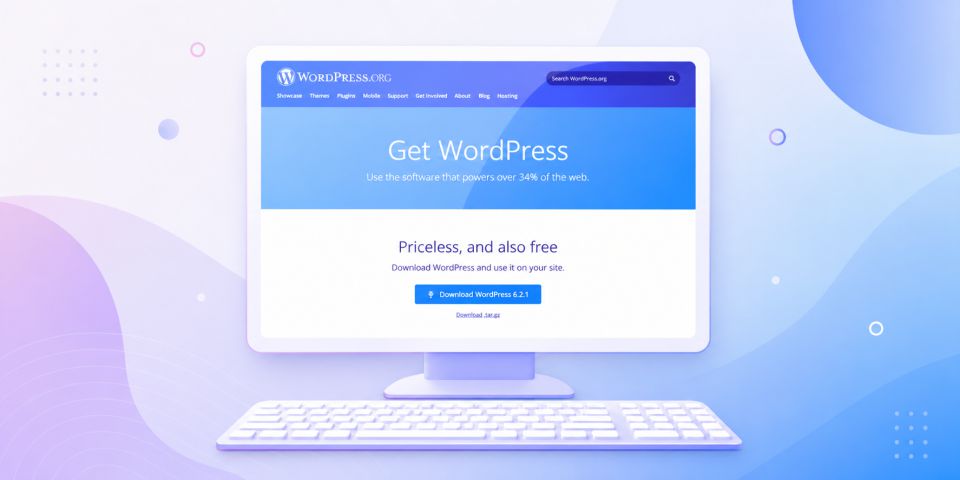
Step 5 – Download and Install WordPress on Your Computer
- To download the latest version of WordPress you’ll need to go to wordpress.org.
- Click one Get WordPress at the top of the screen.
- Click on the download and install link.
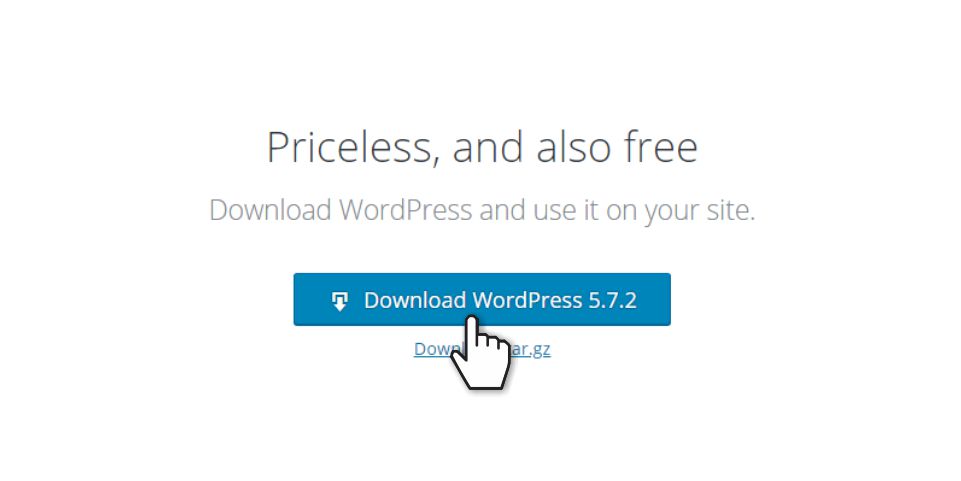
- Click the download button and wait for the zip file to download to your computer.
- Unzip the contents of the downloaded file into the folder you created in step 4.
- Open the folder and find the file
wp-config-sample.php. - Rename the file to
wp-config.php. - Open
wp-config.phpin a text editor.
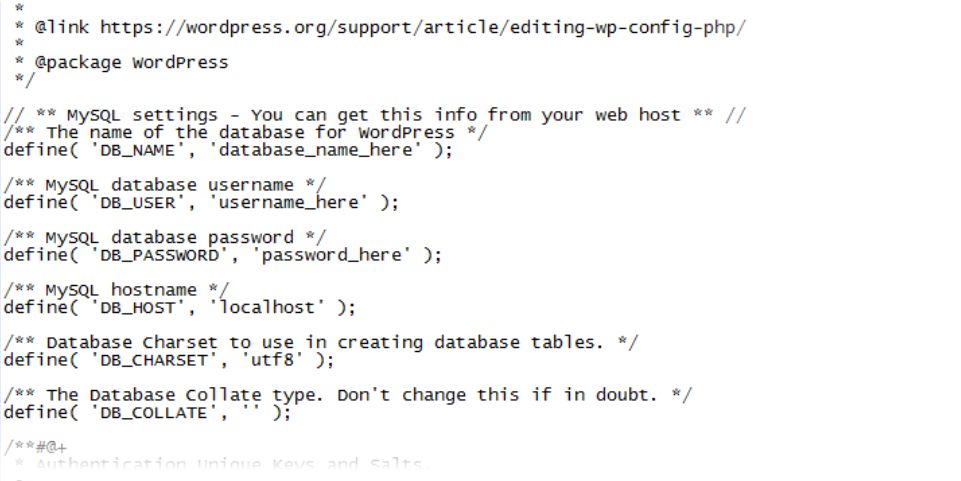
- Replace ‘database_name_here‘ with the name of the database you created in step 3.
- Replace ‘username_here‘ with ‘root’.
- Edit ‘password_here‘ so that it’s empty.
- Save your changes.

When you visit your local website now, you should see the normal WordPress Installer. The address for your local site will be http://localhost/FOLDER/ (FOLDER will be the name of the folder you created in step 4).
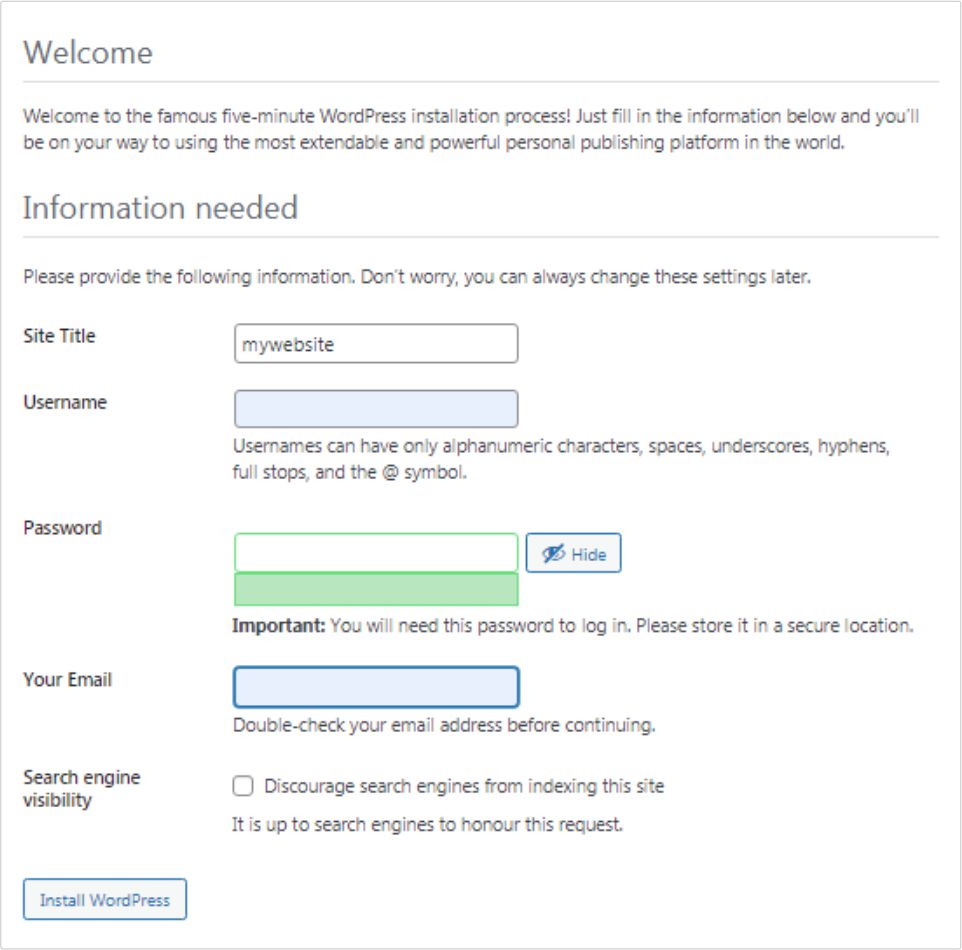
- Complete the required fields and click the Install WordPress button.
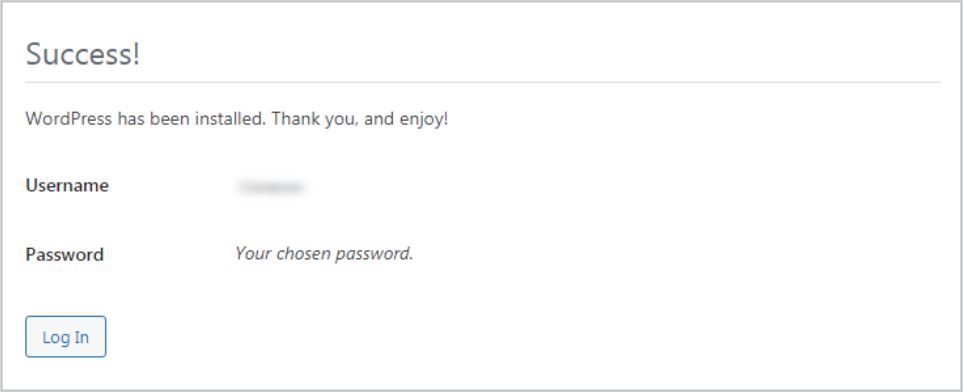
- When the installation is complete you’ll have a brand new WordPress site running on your own computer.
Need Help with WordPress?
Please free to contact me with any questions regarding WordPress. Visit my home and services pages for more about me and what I do.

Cimeron Collins
Cimeron is an artist and designer based in Edenvale, South Africa, with over 30 years of experience in the printing and publishing industries.
He’s also an avid WordPress enthusiast who strives to stay up to date with the latest trends in web design and development, constantly exploring new technologies and refining his skills.

Leave a Reply