
A staging website is the perfect environment for you to test WordPress updates, themes and plugins before implementing them on your live site. In this article we’ll explain what a staging site is and how to create a WordPress staging website.
What is a Staging Website?
A staging site is basically a copy of your live website where you can test changes and updates without the risk of downtime on your live site. A staging site is perfect for testing as it is not visible to the public and any changes you make won’t affect your live site.
How to Set Up a WordPress Staging Website
There are various ways to set up a staging website but the method you use may depend on your hosting plan and your technical ability.
Create a Staging Site Through Your Web Hosting Provider
Your web host may already have a staging option available if you have a managed WordPress hosting plan. Website hosting companies usually have their own specific instructions for creating a staging website so it’s a good idea to reach out to your host if you need help.
Set Up a Staging Site with Softaculous
If your hosting account uses cPanel or DirectAdmin, you can use the Softaculous Apps Installer to easily create a WordPress staging website. You should be able to do this in just few steps and it’s very straight forward even if you have limited technical ability.
1. Log in to your hosting account control panel (cPanel or DirectAdmin).
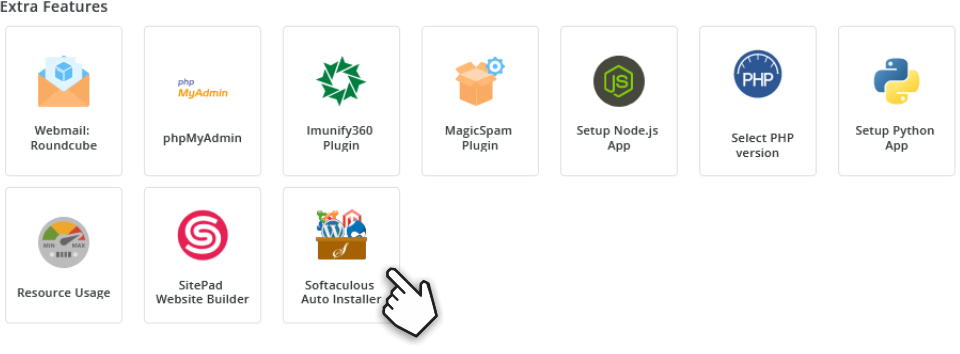
2. Scroll down to the software section and click on Softaculous Auto Installer.
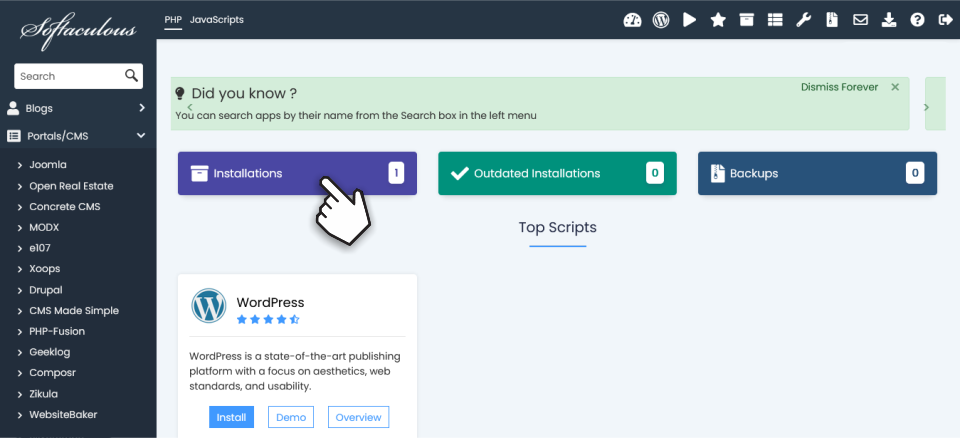
3. Select Installations on the Softaculous screen.
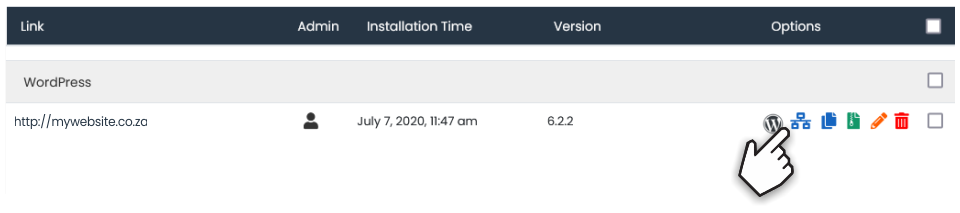
4. Find the domain you want to stage and click the staging icon.
5. Enter a directory name for your staging site on the staging installation details screen.

6. Check the Disable Search Engine Visibility box. This will prevent your staging site from being indexed and appearing in search engine results.
7. If you want your staging site to be an exact duplicate of your live site, you can leave the Site Name field blank and click the Create Staging button.

8. A progress bar will appear while your staging site is being created.

9. A congratulations message will appear when the process is complete. You can click on the Administrative URL now to start editing your site.

Manually Set Up a WordPress Staging Website with the All-in-One WP Migration Plugin
If you have a normal shared hosting plan you may not have access to a staging option or your hosting provider may not have installed Softaculous. You can still create a staging site though but it requires a little more work. It’s also fairly technical, so it may be worth speaking to your hosting company or a web professional before attempting this yourself. Here’s how to create a staging website in a subdomain.
What is a Subdomain?
In the Domain Name System (DNS) hierarchy, a subdomain is a domain that is a part of another (main) domain. For example, if a domain offered an online store as part of their website example.com, it might use the subdomain shop.example.com.
wikipedia.org
1. Create a Subdomain for your Staging Site
The first step is to create a subdomain for your staging site. We’re going to use cPanel in our example but the procedure should be similar with other hosting dashboards.
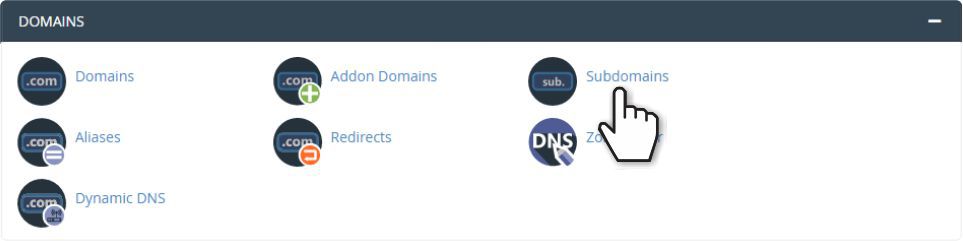
- Log into your hosting account cPanel and scroll down to Domains. Click on Subdomains.
- In the subdomains screen, enter the name of the subdomain you want to create – we’ve called it “staging”.
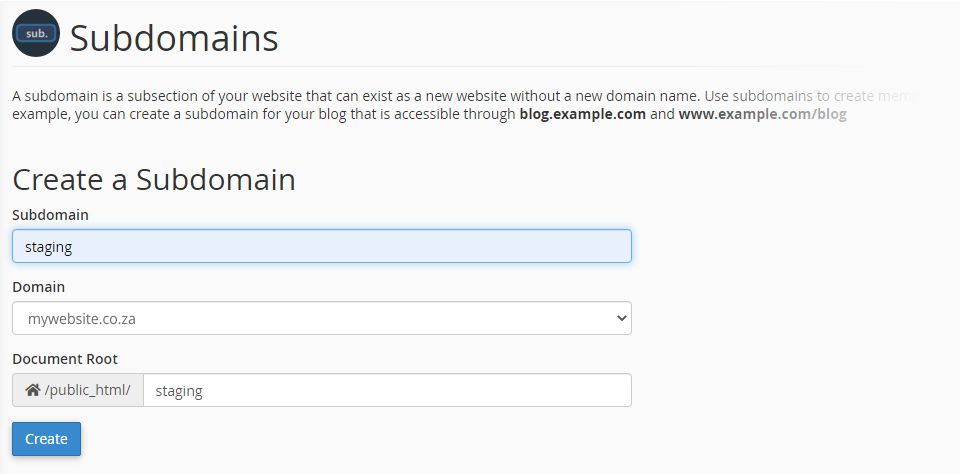
- Click Create and you’ll have a new subdomain for your staging website.
2. Create a Database for the Staging Website
Every WordPress installation requires database, so we’re going to create a new database for the staging website. We’re using cPanel again, but the process will be much the same with other control panels. You can also ask your hosting provider to create the subdomain for you.
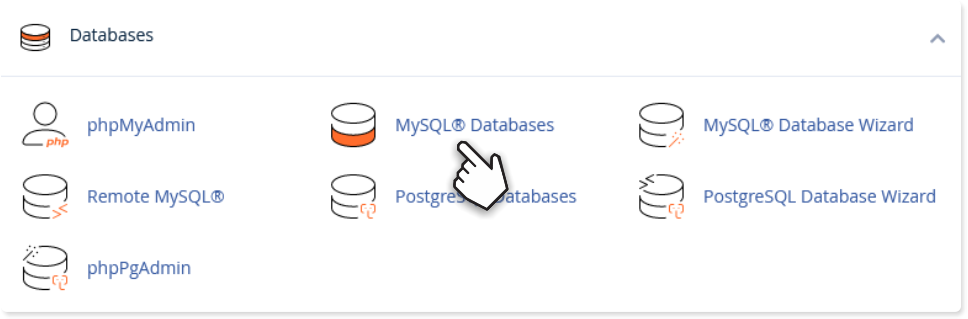
- Find the Databases section in cPanel and select MySQL Databases.
- Enter a name for the database and click Create Database.
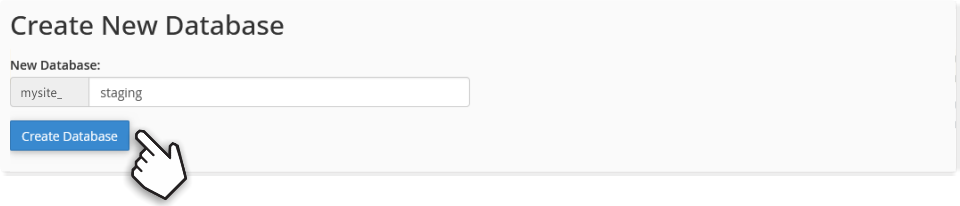
- Wait a few seconds and you should see a notification confirming that the new database has been created.

- We also need to create a new user for the database. To create a new user, scroll down to MySQL Users.
- Enter a username and password. Make a note of both the username and password as we’re going to need them later to install WordPress.
- Click the Create User button.

3. Install WordPress in the New Staging Subdomain
- Download the latest version of WordPress from the WordPress website. Click on the Get WordPress button.
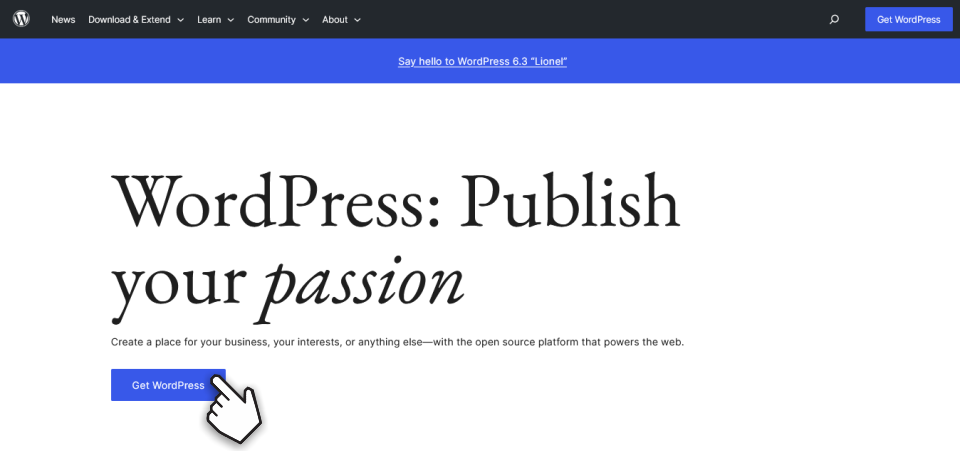
- On the next screen click on the Download WordPress button.
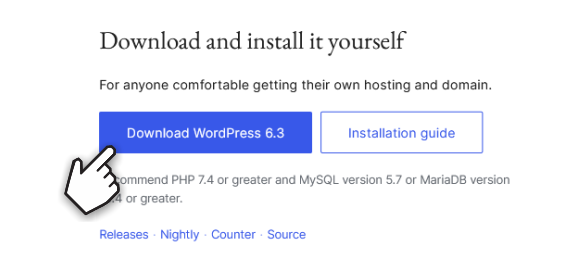
- Save the zipped file on your computer and unzip the contents. Make a note of where you’ve saved the files because we’re going to upload them to the new subdomain in the next step.
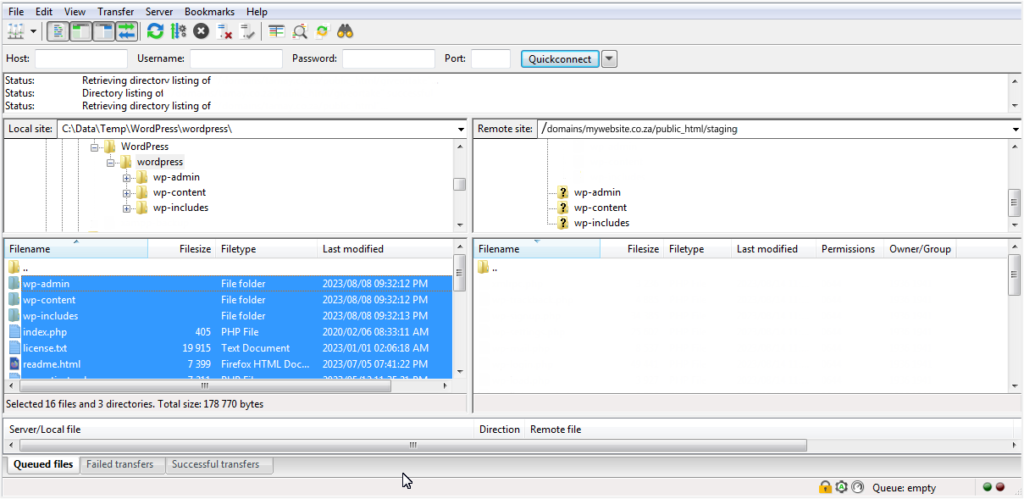
- You can use the your web host’s file manegr or an FTP client like FileZilla to upload the WordPress files to your staging subdomain.
- Upload all the files we downloaded earlier to the staging domain.
- Navigate to your staging domain. If you’ve followed our examples so far, the URL should be something like
https://mywebsite/staging. “Mywebsite” will be the website you’re staging. - This will open the WordPress installer and the famous 5-Minute Install.
- Select your language preference (we usually choose English South Africa) and click Continue.
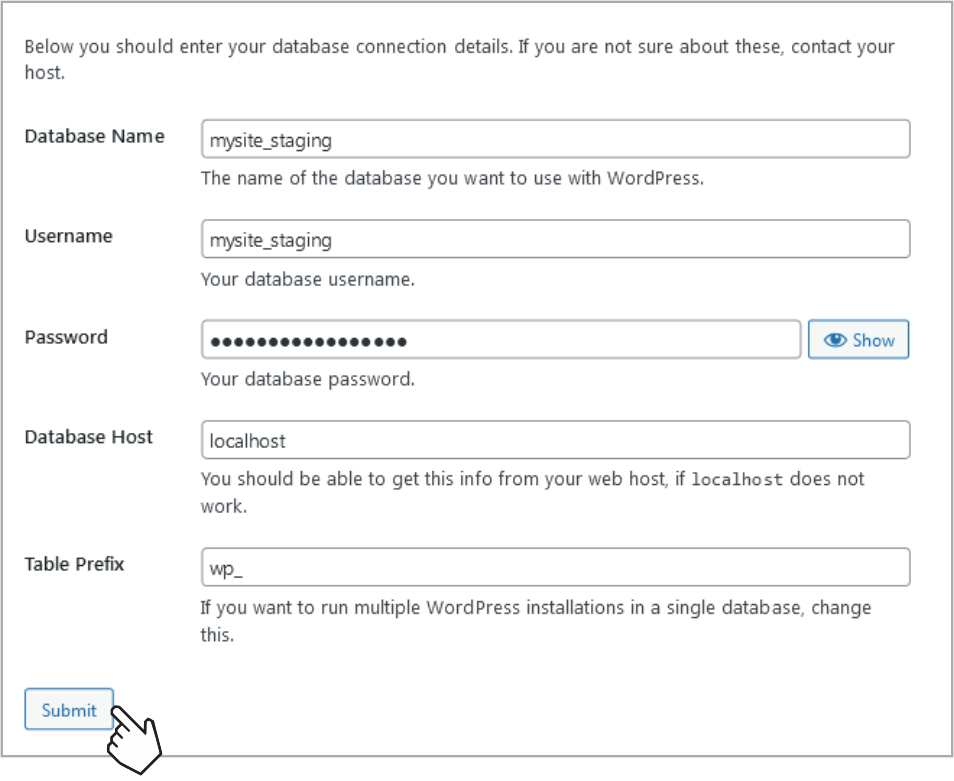
- Enter the database name, username and password that we created earlier. You shouldn’t need to enter anything in the other fields.
- Click the submit button.
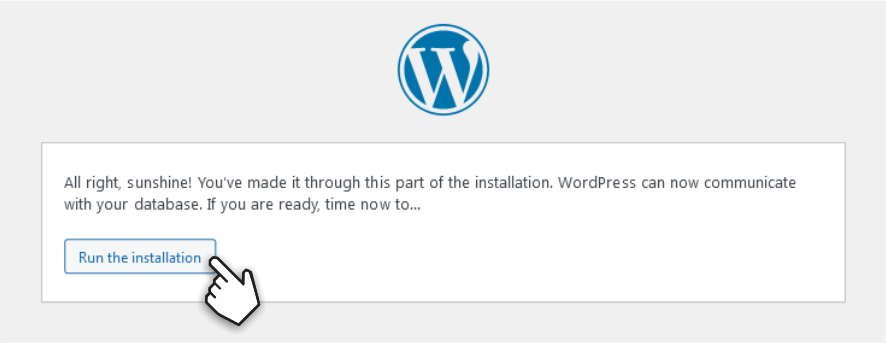
- Click Run the installation to continue.
- Enter all the required information on the installation screen and click the Install WordPress button.
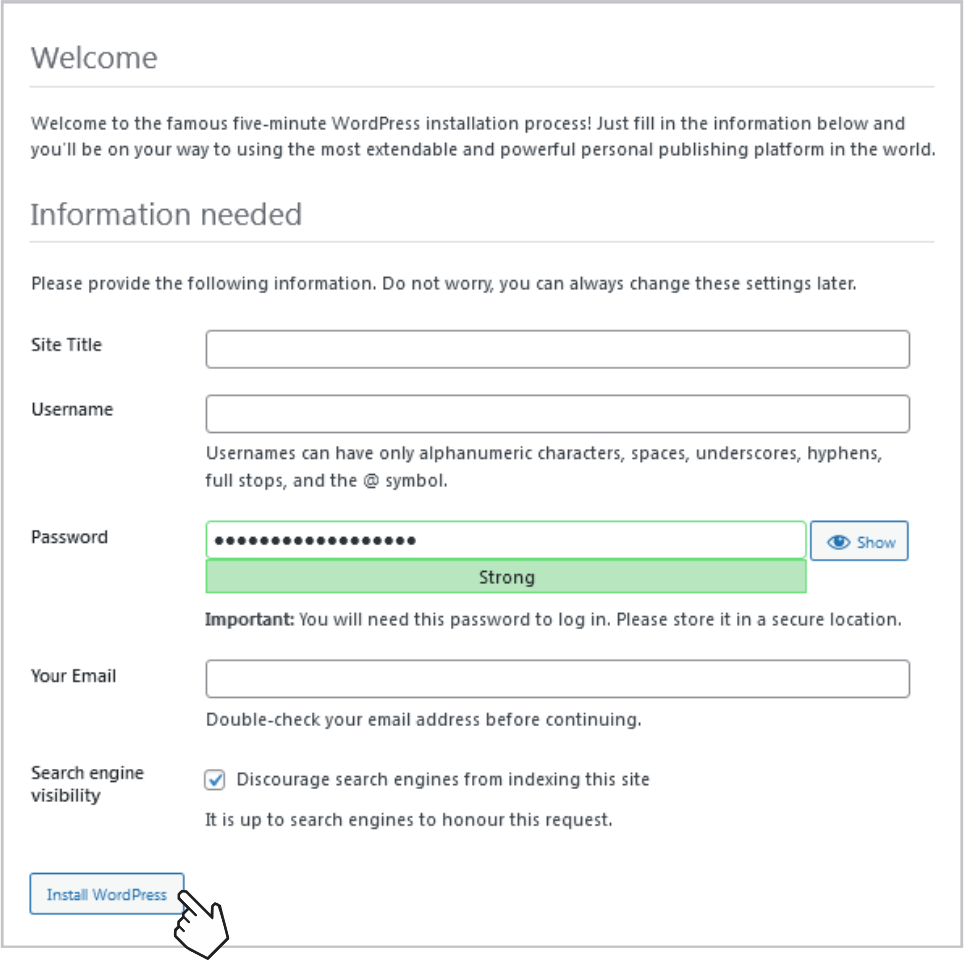
Sit back now while WordPress is installed.
4. Create Your WordPress Staging Website
At this point you’ll have a brand new WordPress installation in our staging domain, but if you go to your staging site now it will only be a default WordPress installation with no content.
The next step is to make a copy of our live website and replace the default site in the staging subdomain with the copy. We’re going to use the All-in-One WP Migration plugin to do this. You could also use the Duplicator plugin as an alternative to All-in-One-Migration. Please see my article How to Clone Your WordPress Website with the Duplicator Plugin for more information.
Step 1. Install All-in-One WP Migration on the Live Website
- Hover over Plugins in your WordPress dashboard and select Add New.
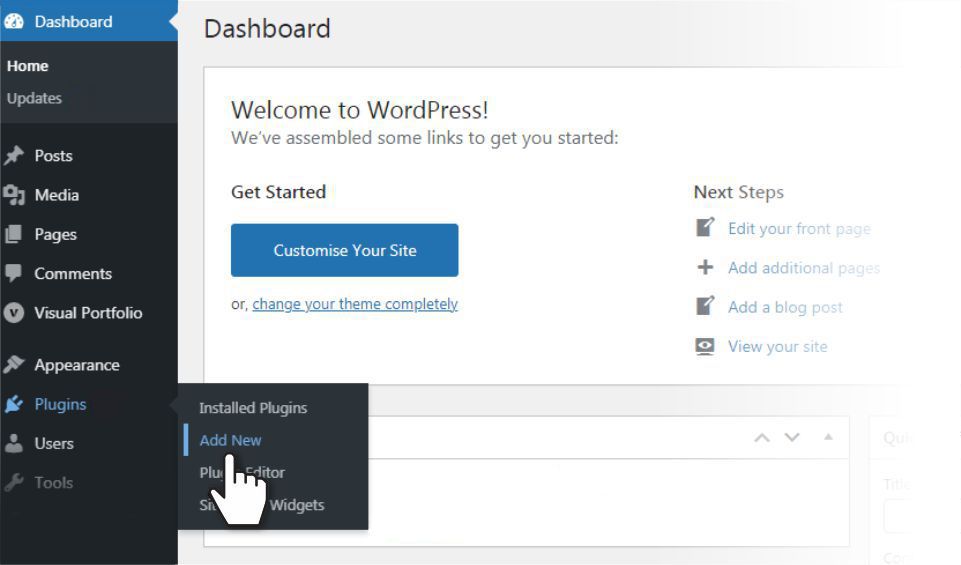
- In the Plugins screen, search for All-in-One WP Migration with the search bar in the top right hand corner of the screen. When the plugin shows on the page, click Install Now.
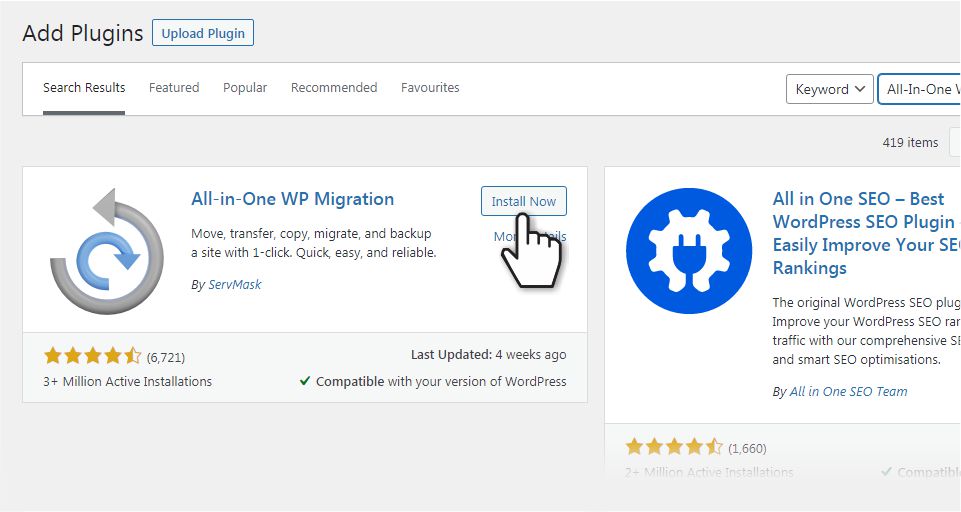
The plugin will now be installed on your live website and can be accessed from the main menu.
Step 2. Export Your Live Website
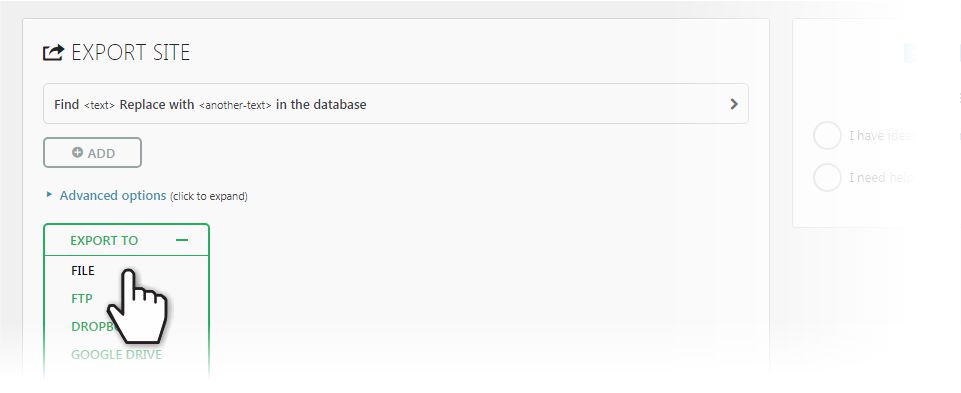
- Click on the All-in-One Migration link in the WordPress dashboard menu. This will bring up the Export Site screen. Click on Export To and select File.
- You’ll need to sit back for a few minutes now while the plugin does it’s thing. Once the export is complete, click on Download and save the file somewhere on your computer where you can find it later. When the download is complete you can click Close.

Step 3. Install All-in-One WP Migration on the Staging Website
We need to install the All-in-One WP Migration plugin on our staging site in order to import the file we just created. The process for installation on the staging site is the same as we used in Step 1.
Step 4. Import the All-in-One WP Migration File to our Staging Site
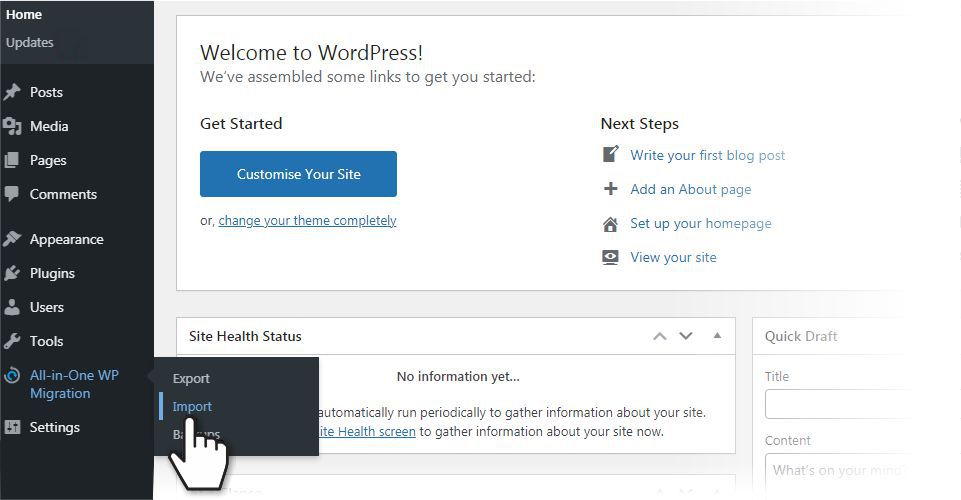
To import the the file we created in Step 2, hover over All-in-One WP Migration in the WordPress dashboard and click Import.
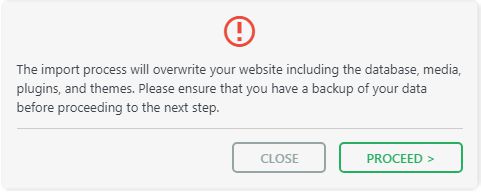
- Select the file we saved earlier and click on Proceed at the following prompt.
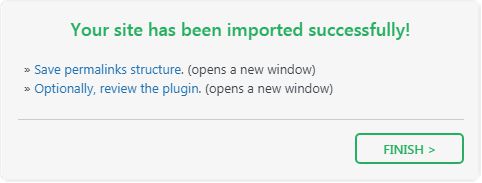
- You can sit back again while the file is imported. When the import is complete you can click Finish an you should have an exact clone of your live website in the subdomain we created.
Important Note on Importing with All-in-One WP Migration
We used the free version of the All-in-One WP Migration plugin to test the procedure in this post. The free version should allow you to upload files up to 512 MB in size. The new version of the plugin does however use the Maximum File Upload Size set on your server. If the upload size on your server is less than the size of the exported file generated by All-in-one Migration, you won’t be able to import it to your staging site.
In this case you have two options. You can either upgrade to the premium version of the plugin or you can increase the maximum file upload size on the server hosting your website. WPBeginner have instructions on How to Increase the Maximum File Upload Size in WordPress.
Increasing the file upload size on the server may not be possible with some shared hosting accounts. If you have problems or are unsure, always reach out to your hosting provider.
Securing Your Staging Site
We don’t want the staging site to be accessible to the public as it is intended for staging purposes only. To restrict access and prevent search engines from indexing the staging site, we need to password protect the subdomain.
It’s fairly straight forward to password protect our staging subdomain with cPanel.
Password Protect a Subdomain Using cPanel
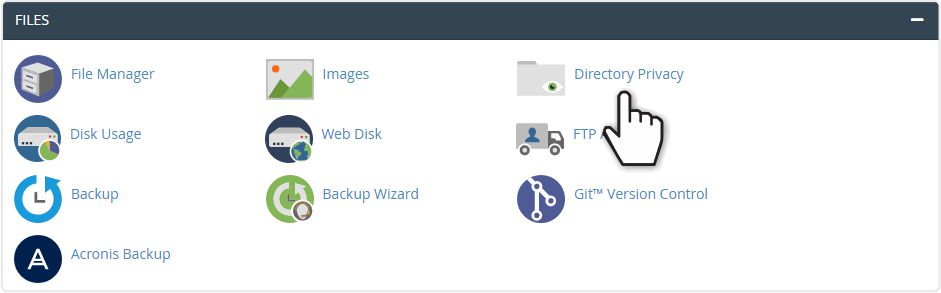
- Log into your cPanel and scroll down to the Files section.
- Click on the Directory Privacy icon.
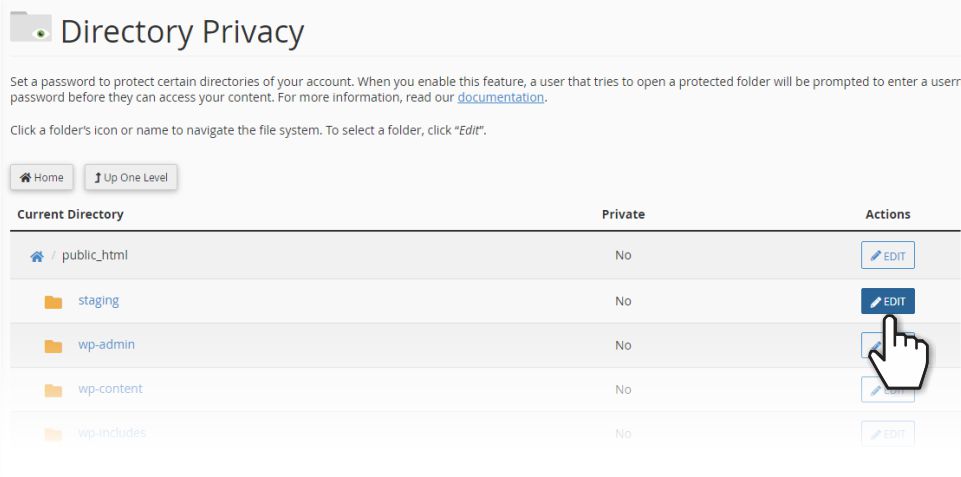
- In the Directory Privacy screen, scroll down and open the public_html folder.
- Find the Staging folder and click Edit.
- Click on the Password protect this directory checkbox.
- Type in a name for the protected directory and click Save.

- You’ll now need to create a user and password to grant access to the protected directory. Write these details down and keep them in a safe place.
- Click Save.
Your staging site should now be protected. If a user attempts to access the staging site through a browser now, they will be prompted to enter a username and password.
A Local Alternative to a Staging Site
An alternative to a staging site on a live server is to create a local WordPress installation. This involves setting up a server and installing WordPress on your own computer. You can make a clone of your live website to use on on local WordPress installation for creating new content, and testing themes or plugins.
A local installation is not a true staging environment however as it uses a server you set up on your own computer and not the live server provided by your web host. A local website will also only be accessible from the computer it is set up on.
Wrapping Up
You should never test changes, themes or plugins on a live website. Always test anything that could possibly break your website in a staging environment. A staging version of your WordPress website will eliminate the risk of downtime on your live site if there are problems with any of the changes you make.
Need Help with WordPress?
Please free to contact us if you have any questions or need help with WordPress. Visit our home and services pages for more about us and what we do.

Cimeron Collins
Cimeron is an artist and designer who lives in Edenvale, South Africa. He has more than 30 years experience in the printing and publishing industries.
He is an avid WordPress enthusiast and passionate about learning and experimenting with new developments and technology in website design and development.
Please share this article if you found it useful


Leave a Reply