The appearance of your website content on search results pages is important for your site’s success and the number of visitors you get. By linking your website to Google Search Console you’ll have access to information that will help you improve your site’s appearance and encourage more people to visit it. In this article we’ll explain what Google Search Console is, why you need it and how to get started.
What is Google Search Console?
Google Search Console is a free tool that provides data about your website’s organic search impressions, clicks and position in Google’s Search Engine Results Pages (SERPs).
What Does Google Search Console Do?
- Search Console provides insight on which URLs on your website Google has discovered, crawled and indexed.
- It provides insights about errors or warnings that might be limiting your search visibility.
The most useful feature is the ability to find out where your website appears on SERPs, but you can can also use it to understand how your users interact with your content and get information on how to improve your search engine optimisation (SEO).
Getting Started
Before you can use any of the tools available in Google Search Console, you’ll need to verify ownership of your website. After verifying, you’ll have access to all the tools and search data that’s relevant to your site.
1. Sign in to Google Search Console
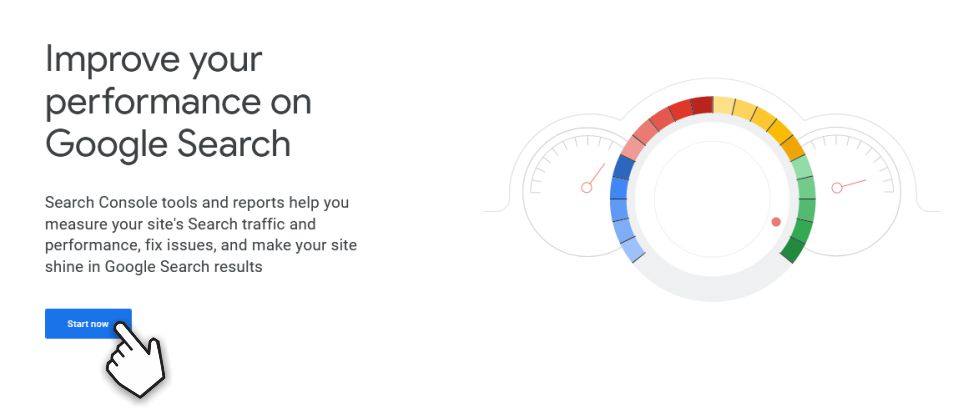
To get started, visit https://search.google.com/search-console and click the Start now button.

2. Add a Property
If it’s your first time using Search Console, you’ll need to add a property to start and you’ll be prompted to add your first property. A website property is a website and all the pages that share the common domain or URL you specify for the property.
Google Search Console allows you to create a Domain property to collect data for an entire domain or a URL prefix property that is limited to a specific URL.
- A Domain property will allow you to see data from your primary domain and all your subdomains in one property. It will include all versions of your website (https, http, www etc.).
- A URL prefix property allows you to collect data from specific domains or subdomains. The URL prefix allows for different verification methods which is useful if you aren’t able to add a DNS record for verification.
How to Add a Domain Property
To add a domain property, you’ll need to enter your root domain into the Domain panel on the welcome screen and click CONTINUE. This will take you to the verification screen. To verify at domain level you’ll need to add a record to your website’s DNS configuration. We’ll show you how to do that later.

3. Verify Domain Ownership
How to Verify Your Domain Property in Google Search Console with DNS
If you chose to create a Domain property, you’ll need to add a DNS record in your website’s control panel. In our example, we’re going to use DirectAdmin, but if your website uses a different control panel like cPanel, the process is much the same.
- On the the Google Console Verification page, copy the TXT record that starts with google-site-verification=.

- Log in to DirectAdmin and go to DNS Management.

- On the DNS Management screen, click ADD RECORD.

- Fill in the required fields.

- Record Type: TXT
- Name: Your domain name followed by a period (dot or full stop). NB The period is important, otherwise the domain will be read as
domain.domainand it won’t work - TTL: 14400
- TXT Record Type: Plain
- Value: Paste your Google text record here
- Click ADD in the bottom right hand corner. It will take a few minutes for the verification to become available, so make a cup of coffee or take a smoke break while this happens.
- Go back to Google Search Console and click VERIFY on the verification screen.

- You should see a notification confirming your verification

If you have problems verifying your domain property or if you don’t have access to your website’s domain records, you can try using a URL prefix.
How to Verify Ownership of Your Website with a URL Prefix
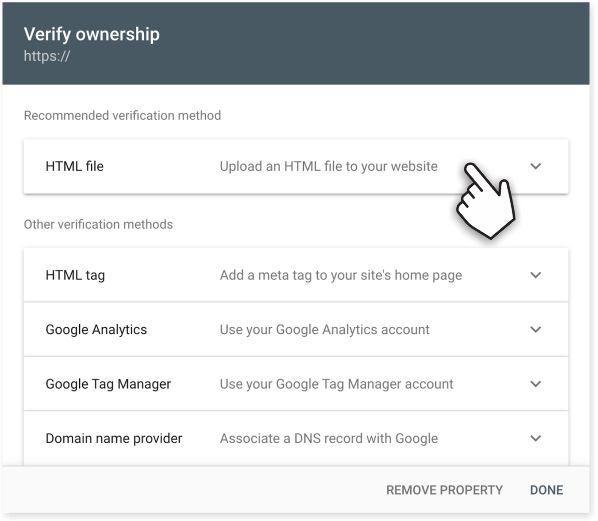
To add a URL prefix property, you’ll need to enter the URL into the URL prefix panel exactly as it appears in your browser’s URL bar. In the following example we’re going use the HTML file method to verify a URL prefix property.

- Start by entering your website’s URL.
- Download the HTML verification file using the hyperlink provided and save it on your computer.

- Upload the HTML file to your website’s root directory. You can use an FTP client like FileZilla or your hosting control panel file manager (cPanel, DirectAdmin etc.).
- Go back to Google Search Console and click VERIFY.
- You should see a notification confirming your verification.

Verify Your Website in WordPress
If you’re using WordPress, perhaps the easiest way to verify your site is with the Yoast SEO Plugin.
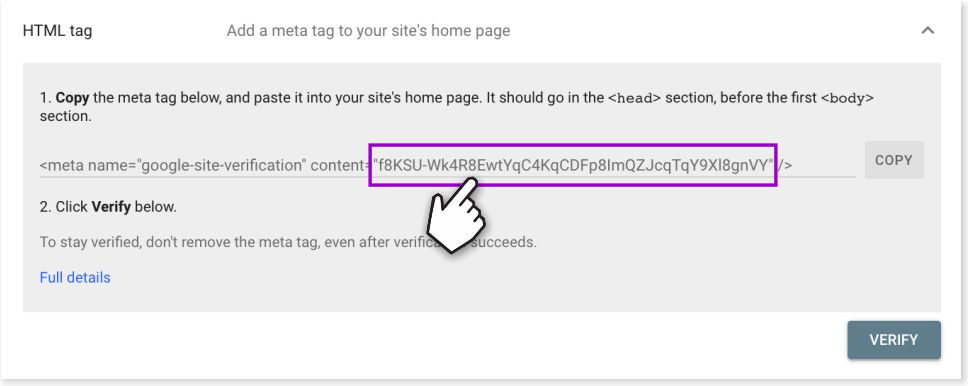
- Select the HTML Tag method on the verification screen.
- Copy the text between the quotes (” “) as indicated below. This is your verification code.

- Log in to your WordPress site.
- In your admin area go to Yoast SEO>Settings.
- In the General section, select Site connections and paste the the verification code into the Google field.

- Click Save changes to finish.
- Go back to Search Console and click VERIFY.
Your website ownership should now be verified.
How Long Does it Take for Data to Show in Google Search Console
Google will start collecting data as soon as you’ve added a property. It does however take a few days for there to be enough data to show in the Search Console. If you open Search Console immediately after adding a property, you’ll probably see something like the following, so you’ll need to be patient.

Wrapping Up
We’ve looked at three different ways to connect your website to Google Search Console.
- With a domain property
- Adding a URL Prefix property
- Verifying in WordPress with the Yoast SEO plugin
Using any of these methods should be enough for you to get started with Google Search Console.
Need Help with Your Website
Please feel free to contact us if you need help with your website and SEO. Visit our home or services pages for more about us and what we do.
Please share this article if you found it useful


Leave a Reply