
If you’re building a website it is always advisable to create it locally before you make it live. With WAMP you’ll be able to set up a local server on your own computer where you’ll be able to install WordPress and build your website in a safe and stable environment. In this article I’ll go through the steps involved to install WAMP on a local Windows computer. I will also explain how to create a database and install WordPress on your local server.
How to Install WAMP
Follow the steps below to install WAMP and set up a local server.
Step 1 – Download WampServer
Visit the WampServer website https://www.wampserver.com/en/ and download the version of WAMP that matches your computer’s configuration. There are two versions of WampServer available – 64-bits (X64) and 32-bits (X86). I downloaded the 64-bit version.

When you click the download option, you’ll be presented with a form to fill out if you want to receive news and information about WAMP. There will also be a few warning notices. You can ignore these and click on the “download directly” link.

You will then be directed to the WampServer page on SourceForge. Select “Download Latest Version” and your download will begin. The file is fairly large, so you may need to be patient while it downloads.

Step 2 – Start the WAMP Server Installation Process
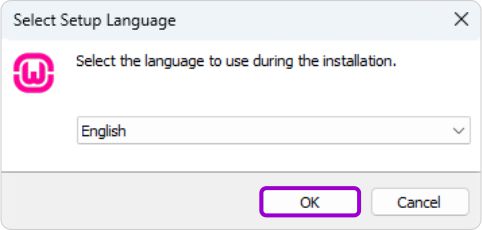
To start the installation you’ll need to run the file you downloaded in the previous step. A pop-up will then appear where you’ll be asked to select the language you prefer for the installation. If it’s English, you can just click “OK”.
The next screen is about the license agreement. Click on the “I accept the agreement” radio button and “Next” to continue with the installation.

The next screen lists the components WampServer requires to function. The main purpose of this step is to check for a suitable version of the Microsoft VC++ re-distributable package. Click “Next” to continue.
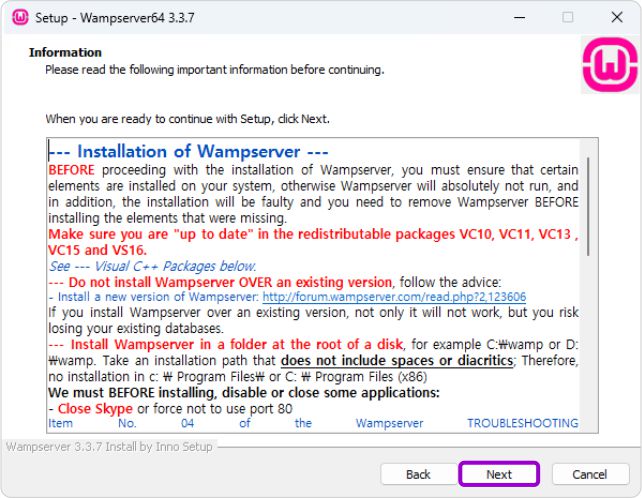
WAMP has certain Windows components that are essential for it to run. You may get an error message if any of them are not installed or updated. Visit https://wampserver.aviatechno.net/ to download the required components.
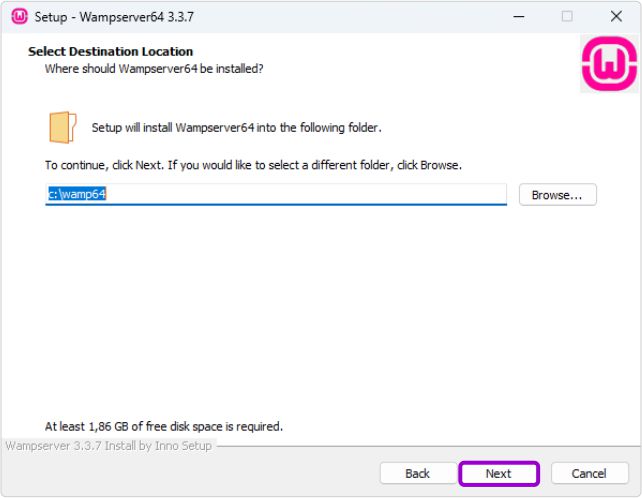
Step 3 – Select a Destination Folder to Install WAMP
On this screen you can choose a location on your computer to install WAMP. You can click the “Next” button to accept the default location.
The installation will start now. It may take a few minutes so you’ll have to be patient once again.

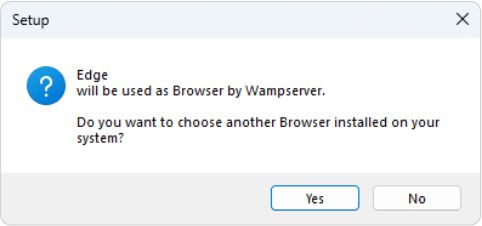
During the installation process you will be prompted to select a default web browser. You can keep it as the default or change it to another browser installed on your computer.
You will also be prompted to select a default text editor. Again, you can keep it as the default or change it to another text editor you prefer.

The installation is almost complete now. Click “Finish” to exit the setup.

That’s it. You should now have a working server on your own computer.
Step 4 – Start and Test WampServer
When the WampServer installation is complete, we’ll need to test it.
- Find the WampServer icon on your desktop or in the start menu and double-click to open it.
- You should then have a green WampServer icon in the system tray at the bottom right corner of your screen.
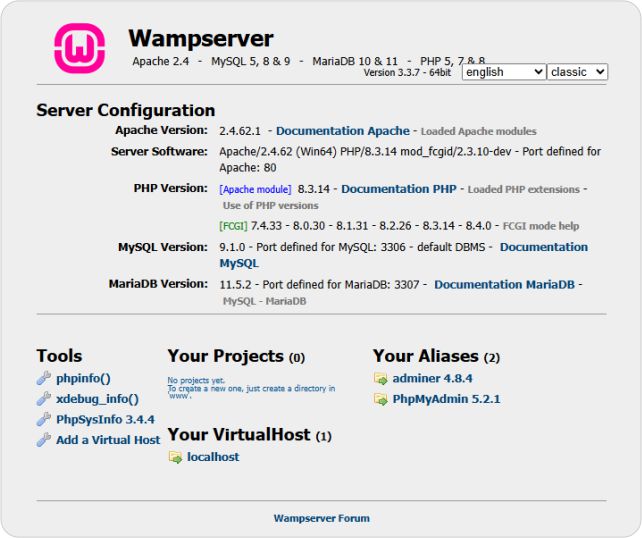
- To test WampServer, open your web browser and type
http://localhostin the address bar. This should open the WampServer homepage.
Creating a Database and Installing WordPress
Every WordPress website requires a database to store, retrieve and display the content. We’re now going to create a database and install WordPress.
Create a Database in WampServer
We’re going to use phpMyAdmin to create a database.
- Make sure that WampServer is running.
- Click the green WAMP icon in your system tray.
- Hover over “PhpMyAdmin” and click “phpMyAdmin” in the fly-out menu.

- You should now be on the phpMyAdmin login screen.
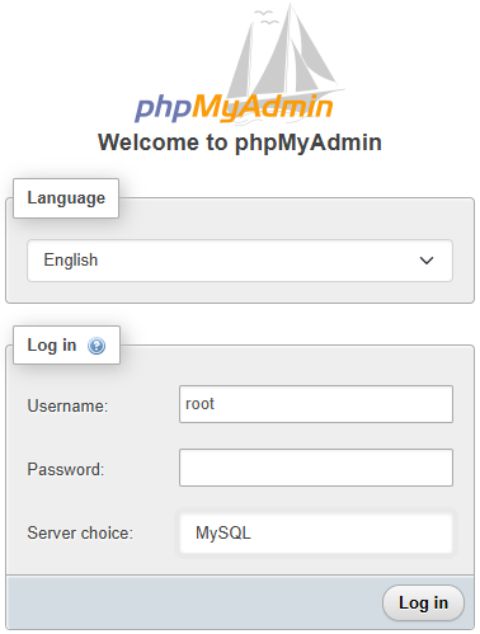
- The username for our server is “root” and the password is left blank.
- Click “Log in” to open phpMyAdmin.
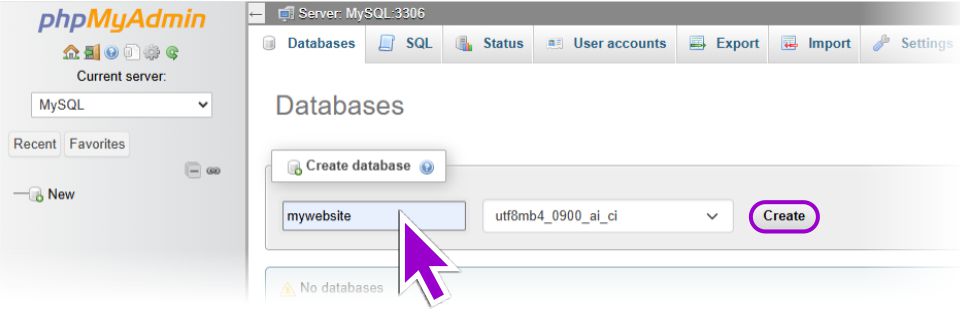
- Click “New” on the left of the phpMyAdmin screen.

- Enter a name for your database and click the “Create” button. In this example we called it “mywebsite”.
- You can now close phpMyAdmin.
Create a Folder for Your Local WordPress Installation
We’re now going to create a folder for our new WordPress installation.
- In your file manager, go to the folder where WAMP is installed. If you followed the steps above it will be
c://wamp64. - Find and open the “www” folder.
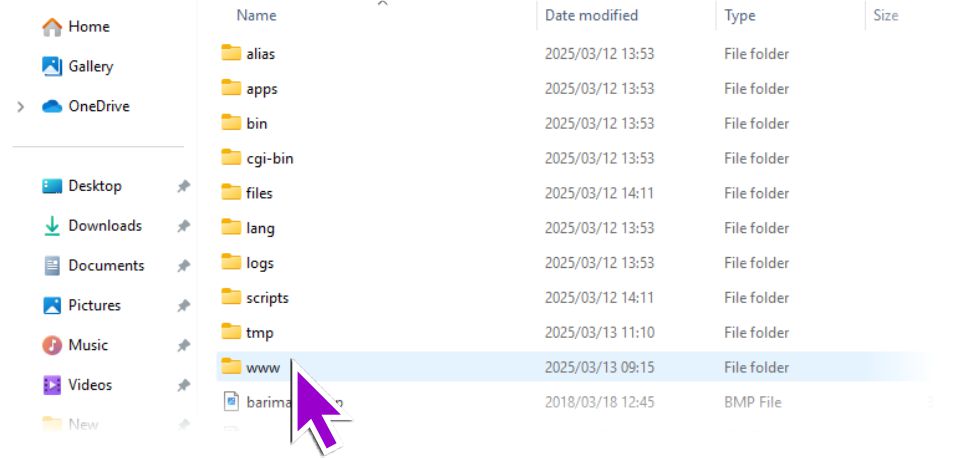
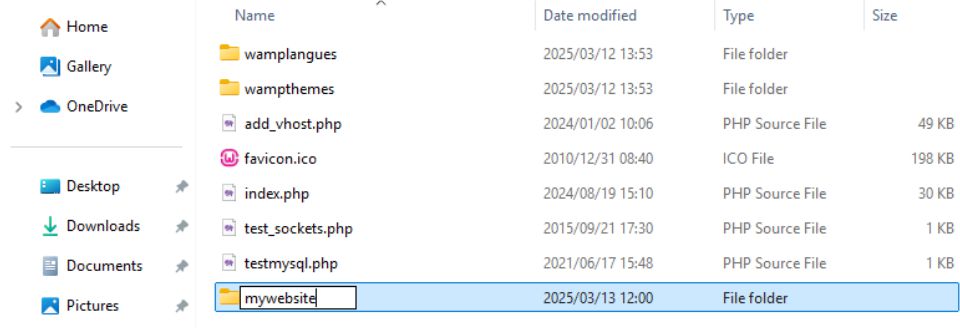
- Inside the “www” folder, create a new folder for your WordPress installation. This folder name will be used to access our website. In this example we called it “mywebsite”.
Download and Install WordPress on Your Computer
- To download the latest version of WordPress you’ll need to go to wordpress.org.
- Click one “Get WordPress” at the top of the screen.
- Click on the “Download WordPress” link to start the download.

- Unzip the contents of the downloaded file into the folder you created earlier.
- Open the folder and find the file
wp-config-sample.php. - Rename the file to
wp-config.php. - Open
wp-config.phpin a text editor. - Replace “database_name_here” with the name of the database you created.
- Replace “username_here” with “root”.
- Edit “password_here” so that it’s empty.
- Save your changes.

- Navigate to your local website now by entering
http://localhost/FOLDER/in the address bar. (FOLDER will be the name of the folder you created earlier). - You should now see the normal WordPress Installer.
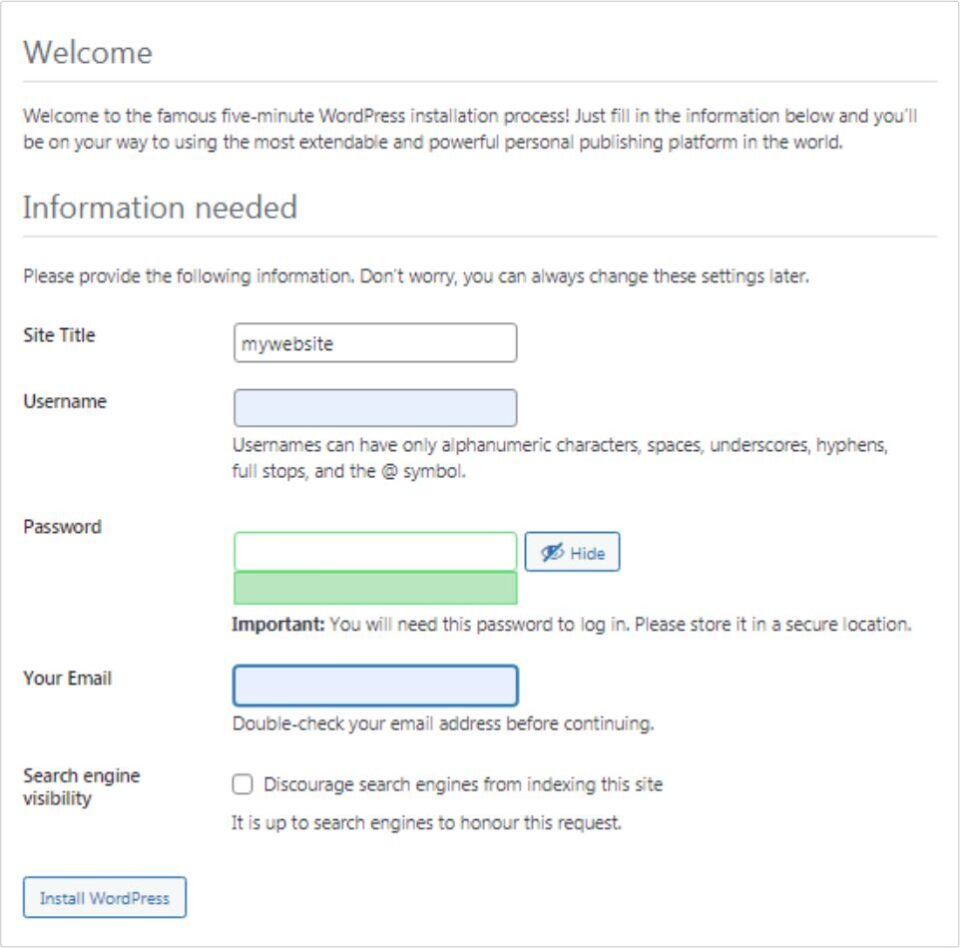
- Complete the required fields and click the Install WordPress button.
- When the installation is complete you’ll have a brand new WordPress site running on your own computer.

Need Help With Your Website?
Please feel free to contact us at Tamay Creative if you need help or advice with your website. Visit our home and services pages for more information about us and what we do.

Cimeron Collins
Cimeron is an artist and designer based in Edenvale, South Africa, with over 30 years of experience in the printing and publishing industries.
He’s also an avid WordPress enthusiast who strives to stay up to date with the latest trends in web design and development, constantly exploring new technologies and refining his skills.
Please share this article if you found it useful

Leave a Reply